


We wanted to make it easy to order the spacers you'll need to build up your Jones bicycle with a truss fork, and with this kit it is!
The kit includes: 2x 1.5mm, 2x2.5mm, 1x 5mm.
Kits are available in black or silver.
Because of small variations in what you'll need for different headsets, and different amounts of material that can be removed when you or your shop faces the new headtube, we have included an extra spacer, which you may or may not need to fine tune the adjustment. Read the instructions below for a simple step by step process for installing your truss fork when using a Jones headset for truss fork, which is the easiest type to use. If you're using another brand, the spacers in this pack should still have you covered (they will, for a King or Cane Creek, but you probably won't use all of them.
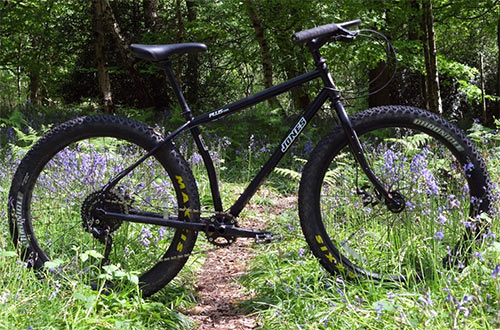
Truss Fork install with a Jones Headset (for other headsets, contact us for details):
1. Make sure all three truss clamp bolts have threads engaged, but don’t tighten them at all.
2. Push the steerer tube in from the bottom and leave about 15mm (1/2”) exposed above the bottom clamp.
3. Put a 1.5mm spacer on the exposed steerer tube, followed by the headset split ring, followed by the lower headset cone assembly.
4. Set the top headset cone assembly and split ring on the top headset cup with bearings in place.
5. With lower bearings in place, slip the lower headset parts together and begin feeding the steerer up toward the top headset cup until it is exposed a few millimeters.
6. Put spacers (usually a 5mm and a 2.5mm or something along those lines) in between the upper headset assembly and the upper truss clamp by pulling upward on the truss to stretch it a bit so that the spacers are tight and actually begin preloading the headset a tiny bit (you don't need to really bend the fork, but you just don't want the spacers to be at all loose, as it'll make tightening the headset difficult).
7. Feed the steerer the rest of the way up, usually by hitting it with a soft mallet from the bottom until it's flush with the bottom of the fork.
8. Tighten the lower two truss clamp bolts evenly until they bottom out, then adjust the headset as normal, then tighten the upper truss clamp along with the stem
NOTE: You can place the spacers above or below the headset to affect the frame geometry a small amount.
Place all the spacers above the headset for a lower bb and steeper angles (quicker feeling) or all below the headset for a higher bb and slacker angles (more laid back).


